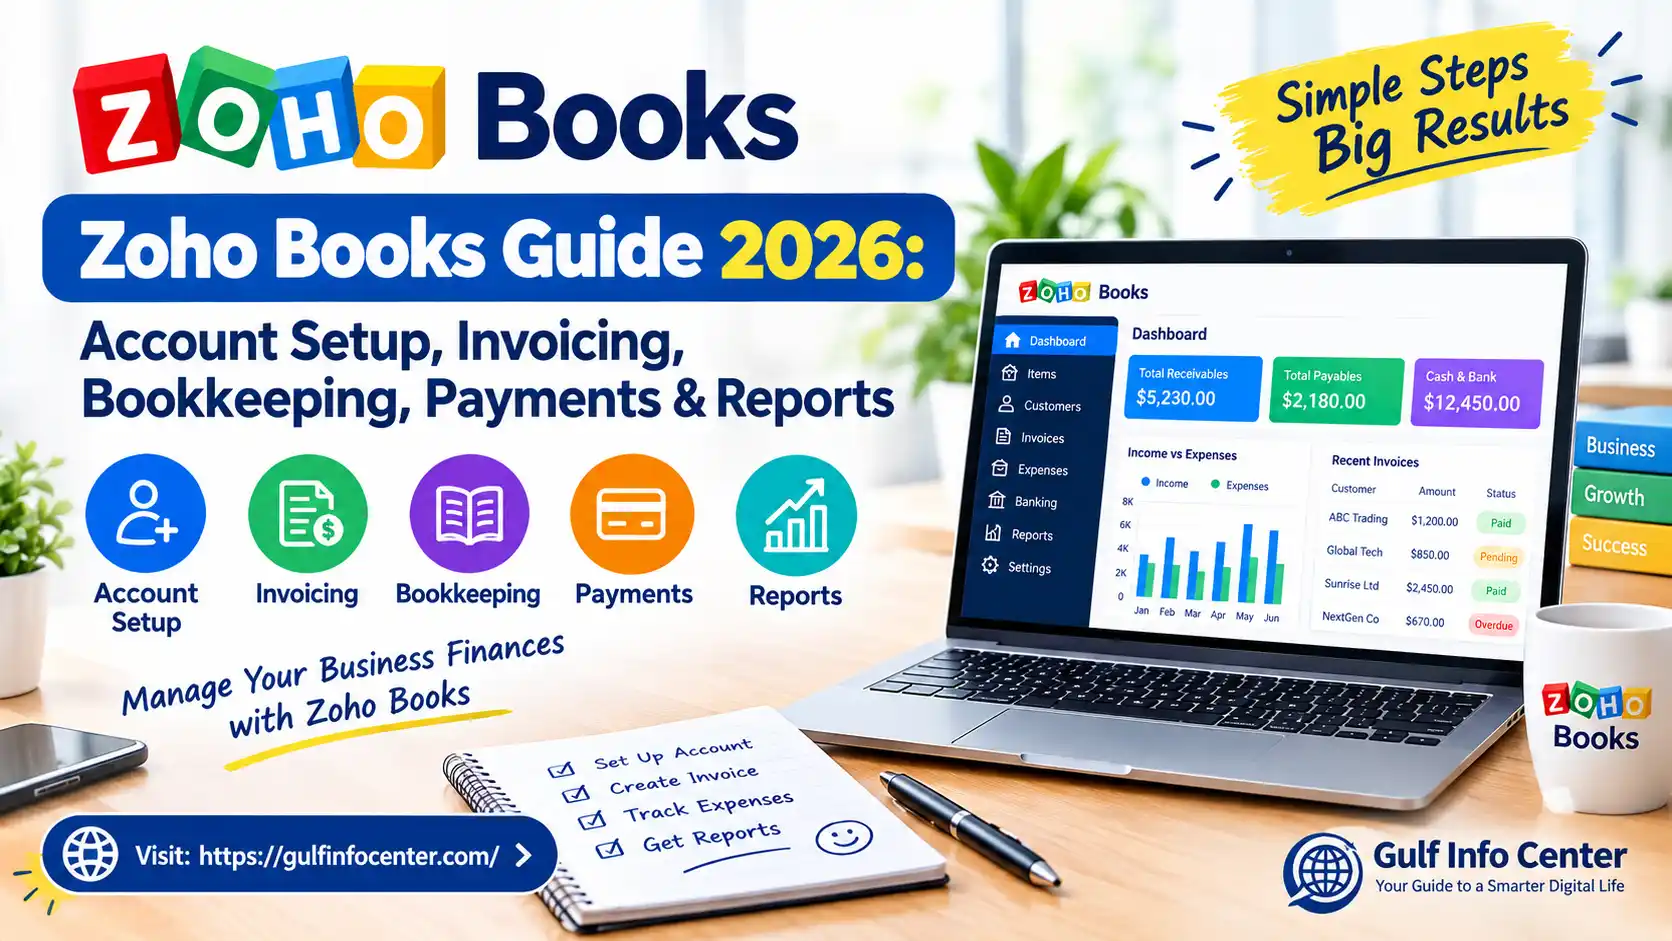

Zoho Books Qatar is a cloud-based accounting and bookkeeping solution designed to help businesses handle essential financial tasks in one place. It can be used to manage customers, create invoices, record payments and expenses, connect banking activities, organise tax-related information, and generate financial reports.
Zoho provides official resources covering key areas such as getting started, invoicing, account settings, reporting, and customer support. These resources can help users understand the platform and set up the features they need.
This guide is intended for business owners, freelancers, foreign residents, students learning bookkeeping, and other users who want to understand how works in Qatar. It focuses on practical processes and explains the main tasks in a clear, step-by-step way.
Important: zoho books demo features, subscription limits, tax settings, and available payment options may differ depending on your country and plan. When setting up an organisation, check the Qatar zoho books demo portal and make sure your accounting and tax configuration matches the rules that apply to your business.
Read Homepage
Zoho Books at a Glance
| Feature | What You Can Do |
|---|---|
| Account Setup | Create and configure your Zoho Books organisation |
| Customers | Add, update, and manage customer details |
| Invoices | Create, send, monitor, and manage invoices |
| Expenses | Record business expenses and purchases |
| Bookkeeping | Organise accounts, transactions, and balances |
| Payments | Record customer payments and set up supported payment gateways |
| Banking | Connect and manage bank and credit-card transactions |
| Reports | Check sales, profit, cash flow, receivables, and other financial reports |
| Taxes | Set up the tax options that apply to your organisation |
| Users & Roles | Provide employees or accountants with controlled account access |
| Automation | Automate reminders, workflows, and recurring tasks |
| Data Backup | Create backups of your Zoho Books data |
How to Create a Zoho Books Account
You’ll need a Zoho account and an organisation before you can start working with Zoho Books. The initial setup begins by opening the Zoho Books website and either signing in with an existing account or registering a new one.
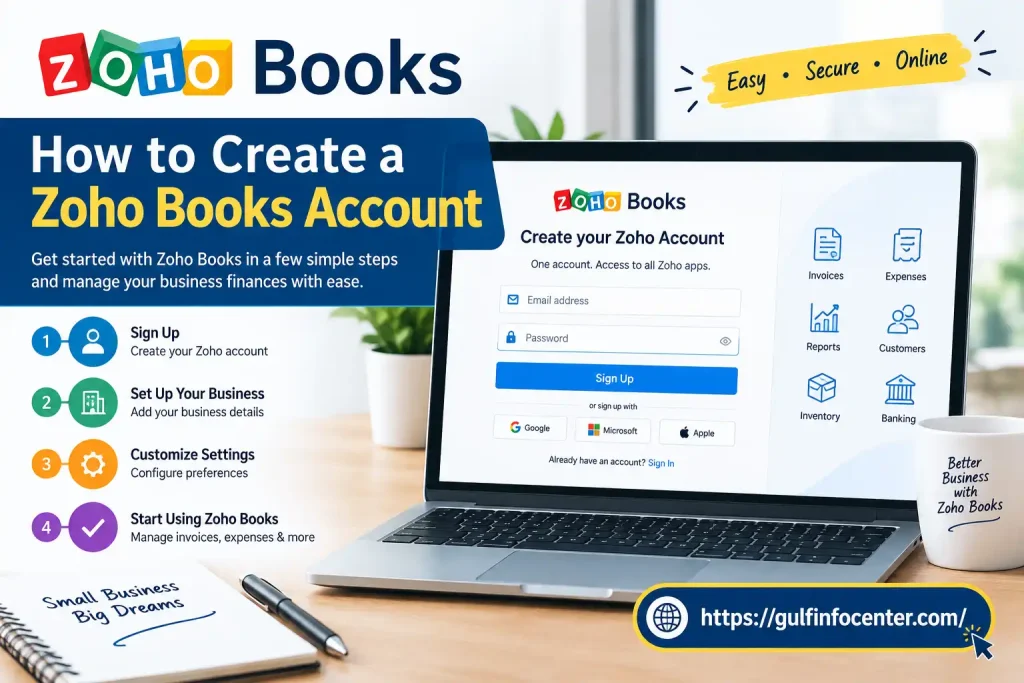
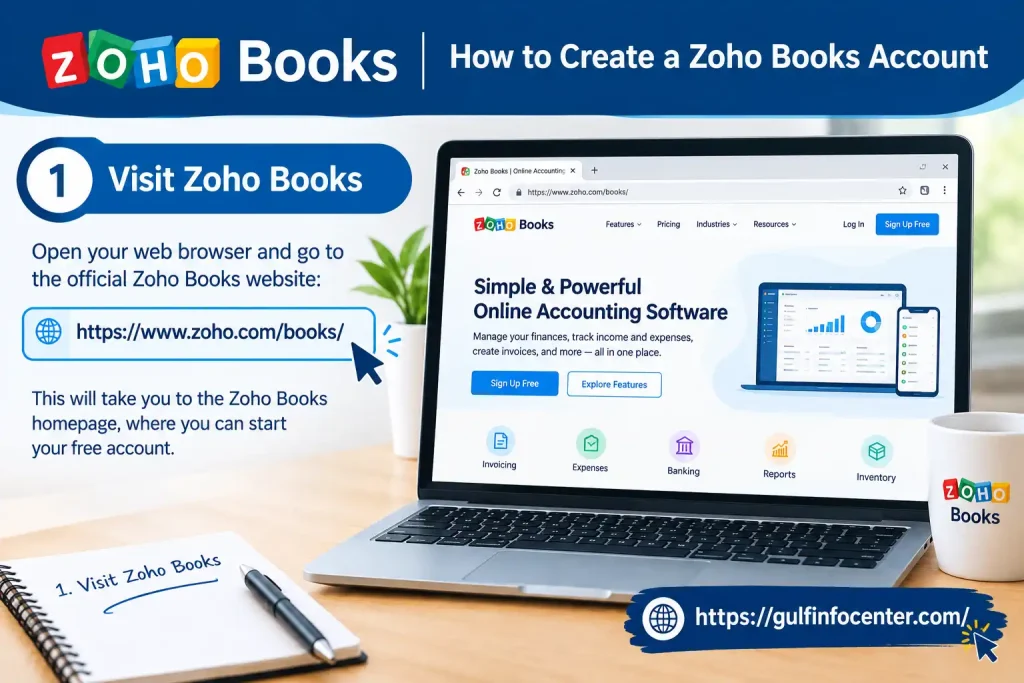
Step 1: Visit Zoho Books
Open the Zoho Books Qatar website and select the option to get started. If you already have a Zoho account, you can choose the sign-in option instead.
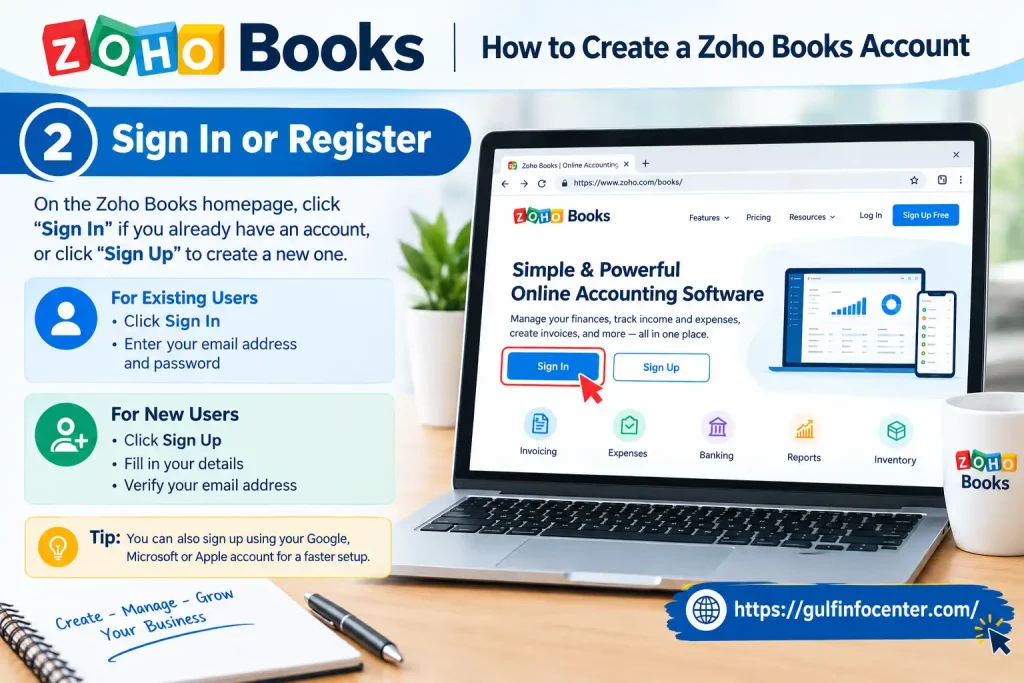
Step 2: Sign In or Register
Users who already have a Zoho account can access Zoho Books by following these steps:
- Provide your registered email address.
- Enter your account password.
- Complete any security check shown on the screen.
- Proceed to Zoho Books.
If you don’t have a Zoho account yet, select the available registration option and follow the on-screen instructions to create one.
Step 3: Set Up Your Organisation
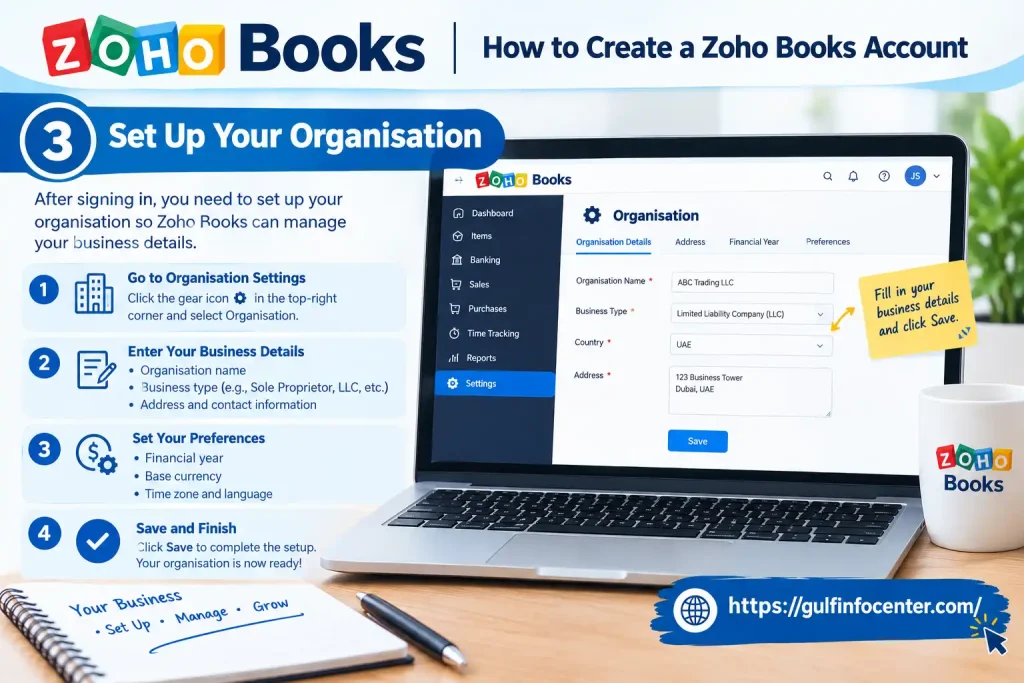
Once you begin the initial setup, Zoho Books will ask for key details about your business or organisation. Depending on the setup options shown, you may need to provide information such as:
- Business or organisation name
- Country or region
- Business address
- Industry
- Base currency
- Financial year details
- Tax information, where applicable
Providing these details at this stage helps establish your Zoho Books organisation so you can begin managing your financial records and transactions.
Step 4: Check Your Business Profile
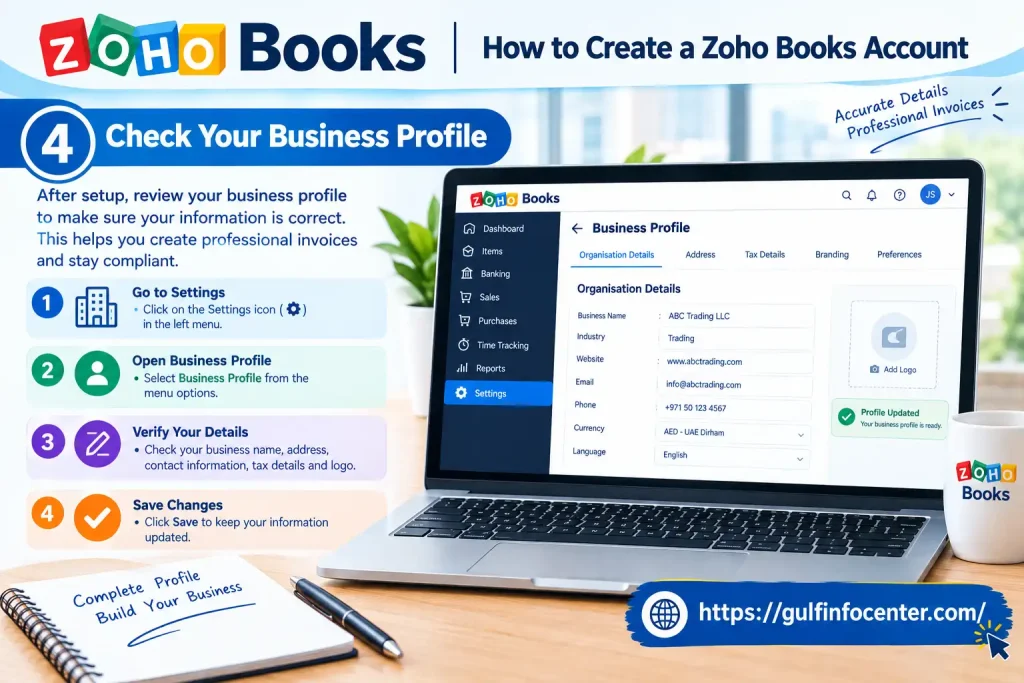
After creating the organisation, take a moment to review the information you entered. Accurate business details are important because they can be used across different areas of your Zoho Books account.
Before moving on, check that:
- Your business name is correct.
- The business address is accurate.
- The selected currency is suitable for your organisation.
- Any entered tax information is correct.
- Your contact details are current.
You don’t have to finish every organisation setting during the first setup. Zoho Books provides additional configuration options through Settings, allowing you to update and complete your organisation details later.
Zoho Books Dashboard
The Zoho Books dashboard is the main screen you see after logging in. It gives you a quick view of your business’s financial position and provides access to commonly used accounting functions.
Depending on your setup, the dashboard may show income and expenses, customer receivables, bank and credit-card accounts, outstanding balances, projects, time entries, and other financial information.
What You Can Check on the Dashboard
| Dashboard Area | What It Shows |
|---|---|
| Total Receivables | The amount customers still need to pay |
| Overdue | Invoices that have passed their payment due date |
| Bank & Credit Cards | Connected bank and credit-card accounts |
| Account Watchlist | Selected accounts and their current balances |
| Getting Started | Initial setup tasks that still need attention |
| Quick Create | Shortcuts for creating common transactions |
Use these sections to monitor important figures without opening each accounting module separately.
Add Customers
Set up your customer records before you start preparing invoices. This keeps customer details organised and helps you manage billing and outstanding payments more efficiently.
How to Add a Customer
- Go to Sales from the main menu.
- Open Customers.
- Select + New to create a customer record.
- Enter the customer’s basic details.
- Add their email address and phone number.
- Provide billing or shipping information where needed.
- Set the appropriate payment terms.
- Click Save to create the customer.
Details to Keep Ready
You may need the following information when creating the record:
- Customer or business name
- Contact person’s name
- Email address
- Phone number
- Billing address
- Shipping address
- Tax details
- Payment terms
- Preferred currency
Accurate customer records can make invoice creation and receivables management much easier.
Add Products or Services
Before adding items to an invoice, you can create records for the products or services your business offers. This makes invoice preparation more consistent and keeps sales records organised.
How to Add an Item
- Open Items or the appropriate item-management section.
- Click + New.
- Choose the relevant item type.
- Enter the product or service name.
- Add an SKU if one is used.
- Enter the sales price or rate.
- Apply the relevant tax.
- Set up inventory information if you sell physical products.
- Save the item.
For product-based businesses, keeping item and inventory details accurate helps maintain reliable sales and bookkeeping records.
How to Create an Invoice
Zoho Books provides tools to prepare and manage customer invoices. You can create an invoice, keep it as a draft, send it to the customer, record payments, and monitor its status.
Step 1: Go to Invoices
From the main menu, open:
Sales → Invoices
Select + New to start a new invoice.
Step 2: Choose the Customer
Select the customer who should receive the invoice.
Step 3: Provide the Invoice Information
Enter or confirm the relevant details, such as:
- Invoice number
- Invoice date
- Payment terms
- Due date
- Salesperson, where applicable
- Customer purchase or order reference, if needed
Step 4: Add Products or Services
Add the items being billed to the invoice:
- Choose the relevant product or service.
- Enter the quantity.
- Confirm the applicable rate.
- Check the tax details.
- Add any other required items.
Step 5: Include Notes and Terms
Add any information the customer needs to know, including:
- Customer notes
- Payment instructions
- Terms and conditions
- Other relevant information
Supporting documents can also be attached when necessary.
Step 6: Check the Invoice
Review the invoice carefully before sending it. Pay particular attention to the:
- Customer
- Invoice number
- Date
- Items
- Quantity
- Price
- Tax
- Total amount
- Due date
- Payment instructions
Step 7: Save or Send the Invoice
After reviewing the details, you can:
- Save as Draft
- Save and Send
- Schedule the invoice to be sent later
For invoices that need to be issued regularly, Zoho Books also provides recurring invoice options.
How to Track Invoice Status
Once an invoice has been created, you can monitor its progress from the Invoices section. The status indicates whether the invoice is still being prepared, has been sent, or has been paid.
Depending on the invoice activity, statuses may include:
- Draft
- Sent
- Unpaid
- Overdue
- Partially Paid
- Paid
When you record a customer payment, the invoice status can be updated to show the latest payment position.
Checking an Invoice Status
- Open Sales.
- Select Invoices.
- Search using the customer’s name or invoice number.
- Open the relevant invoice.
- Check the displayed status.
- Review the payment details when available.
How to Record Customer Payments
When a customer pays an invoice, enter the payment in Zoho Books so the invoice and payment records stay up to date.
Steps to Record a Payment
- Go to Sales → Invoices.
- Open the invoice that has been paid.
- Select the option to Record Payment.
- Enter the date the payment was received.
- Add the amount paid by the customer.
- Choose the payment method used.
- Select the account where the money was deposited.
- Save the payment record.
Supported Payment Methods
The available options depend on your Zoho Books configuration. They may include:
- Bank transfer
- Cash
- Card
- Cheque
- Online payment
- Other supported payment methods
Zoho Books also allows you to record partial payments, so an invoice does not have to be fully paid in a single transaction.
How to Record Expenses
Recording expenses accurately helps keep your bookkeeping records organized and up to date.
Step-by-Step
- Open Expenses.
- Click + New Expense.
- Choose the appropriate expense account or category.
- Enter the expense amount and date.
- Select the payment account used for the expense.
- Add tax details if applicable.
- Attach the receipt or supporting document if needed.
- Add any relevant notes or details.
- Click Save to record the expense.
Common Business Expenses
- Office supplies
- Rent
- Utilities
- Advertising and marketing
- Transportation
- Software subscriptions
- Professional services
- Business travel
Keep receipts and other supporting documents for your records and follow the accounting and tax requirements that apply in your location.
Bookkeeping in Zoho Books
Zoho Books helps businesses organize and manage their accounting records in one place. You can use it to track income, expenses, payments, banking activity, and other financial transactions.
Key Bookkeeping Areas
Important areas of bookkeeping in Zoho Books include:
- Chart of Accounts
- Sales
- Purchases
- Expenses
- Customer and vendor payments
- Bank transactions
- Journal entries
- Opening balances
- Accounts receivable
- Accounts payable
Chart of Accounts
The Chart of Accounts organizes your business accounts into different categories. Common account types include:
| Account Type | Examples |
|---|---|
| Assets | Cash, bank accounts, equipment |
| Liabilities | Loans, accounts payable |
| Equity | Owner’s equity |
| Income | Sales revenue, service income |
| Expenses | Rent, salaries, utilities |
Keeping your accounts properly categorized makes it easier to track financial activity and prepare accurate reports.
Opening Balances
If you are moving an existing business to Zoho Books, you may need to enter your previous account balances. The Opening Balances feature allows you to record these balances when setting up your organization.
Before entering opening balances, review your existing financial records and make sure the amounts are accurate and properly categorized.
Manage Bank Accounts
Connecting your business bank accounts to Zoho Books helps you track transactions and keep your financial records up to date.
Step-by-Step
- Open the Banking section.
- Select Add Bank Account.
- Enter the required bank account details.
- Complete the available connection or verification process.
- Review the transactions imported from your bank.
- Categorize each transaction correctly.
- Match transactions with the relevant payments or expenses when applicable.
Regular Banking Tasks
To keep your records accurate, regularly:
- Review imported bank transactions.
- Match transactions with recorded payments.
- Categorize income and expenses correctly.
- Investigate unfamiliar or unusual transactions.
- Reconcile your bank balance with your Zoho Books records.
How to Manage Payments
Zoho Books allows you to record customer payments and, where supported, connect online payment gateways to receive payments electronically. Available payment providers can vary depending on your country, edition, and account configuration.
Configure an Online Payment Gateway
The setup process generally involves the following steps:
- Open Settings.
- Go to the Online Payments or relevant integrations section.
- Select a supported payment gateway.
- Enter the required account or connection details.
- Complete the authentication process.
- Enable the payment method.
- Test the setup to confirm that payments are processed correctly.
Important Note
Payment gateway options are not the same for every Zoho Books account. The available providers depend on your country, regional edition, and account settings. Check your Zoho Books account to see which payment methods are currently available.
Manage Taxes
Set up your tax settings in Zoho Books before recording a large number of transactions. Proper configuration helps ensure that taxes are calculated and reported correctly.
Step-by-Step
- Open Settings.
- Go to Taxes.
- Review the available tax settings.
- Enter your applicable tax registration details, if required.
- Add or configure the relevant tax rates.
- Save your settings.
- Create a test transaction to verify that the correct tax treatment is applied.
Important Note
Tax rates, registration requirements, and reporting rules vary by country and business type. If you are using a Qatar-based Zoho Books organization, use the current Qatar tax requirements that apply to your business rather than copying settings from another country’s Zoho Books edition.
If you are unsure about a tax setting, verify it with the relevant local tax authority or a qualified tax professional before applying it to your accounting records.
How to Create a Recurring Invoice
If you bill a customer regularly for the same products or services, recurring invoices can automate the billing process and reduce manual work.
Step-by-Step
- Go to Sales → Recurring Invoices.
- Click + New Recurring Invoice.
- Select the customer.
- Add the products or services and enter the invoice amount.
- Set the recurrence frequency.
- Choose the start date and, if needed, an end date.
- Review the invoice details and payment terms.
- Save the recurring invoice.
Zoho Books can automatically generate invoices based on the recurring schedule you configure.
How to View Financial Reports
Zoho Books provides a range of reports that help you monitor your business performance, sales, cash flow, receivables, and other financial activities.
Step-by-Step
- Open Reports.
- Select a report category.
- Choose the report you want to view.
- Set the required date range.
- Apply available filters as needed.
- Run the report.
- Review the financial data.
- Export or share the report if required.
Important Financial Reports
| Report | Purpose |
|---|---|
| Profit and Loss | Review income, expenses, and profit |
| Balance Sheet | Review assets, liabilities, and equity |
| Cash Flow Statement | Track cash inflows and outflows |
| Sales by Customer | Analyze sales for individual customers |
| Sales by Item | Review sales by product or service |
| Customer Balance | Check outstanding customer balances |
| Aging Summary | Identify overdue receivables |
| Payments Received | Review customer payments |
| Activity Logs | Monitor account activity |
Qatar-Specific Reports
The Qatar edition of Zoho Books includes sales reports such as Sales by Customer, Sales by Item, Sales by Sales Person, and Profit by Item. Available reports may vary depending on your edition and organization settings.
How to Customize a Report
Zoho Books allows you to customize supported reports so you can focus on the financial information that matters to your business.
Step-by-Step
- Open Reports.
- Select the report you want to customize.
- Click Customize Report.
- Choose the required date range.
- Apply relevant filters.
- Select or adjust the available columns.
- Run the report to view the updated results.
- Save the customized report if the option is available.
Schedule Reports
For supported reports, Zoho Books also allows you to schedule reports. You can set a preferred frequency and have reports generated and sent automatically according to the schedule.
How to Manage Users and Roles
If multiple people manage your business finances, Zoho Books allows you to add users and assign appropriate roles and permissions. This helps control access without sharing a single login.
Step-by-Step
- Open Settings.
- Go to Users & Roles.
- Click + New User or Add User.
- Enter the user’s email address.
- Select the appropriate role.
- Review the user’s permissions.
- Send the invitation.
The invited user can follow the instructions in the invitation to access the organization.
Recommended Practice
Assign each user only the permissions required for their responsibilities. This reduces unnecessary access to sensitive financial information.
Common access levels may include:
- Accountant: Access to accounting and financial reports
- Sales Employee: Access to customers, sales, and invoices
- Manager: Broader access to business information and reports
- Administrator: Full control over organization settings and user access
Available roles and permissions can vary depending on your Zoho Books edition and organization settings.
Zoho Books Settings
The Settings section allows you to configure important parts of your Zoho Books organization, including business details, accounting preferences, taxes, users, templates, and integrations.
Important Settings
| Setting | What It Controls |
|---|---|
| Organization Profile | Business name, contact details, and other organization information |
| Opening Balances | Initial balances for your accounts |
| Users & Roles | User access and permissions |
| Preferences | General accounting and organization preferences |
| Currencies | Currency and multi-currency transactions |
| Taxes | Tax rates and related configuration |
| Templates | Appearance of invoices and other documents |
| Automation | Workflows, reminders, and automated actions |
| Online Payments | Payment gateway and online payment options |
| Data Backup | Available backup and data-management options |
Review your settings during the initial setup and update them whenever your business information, accounting requirements, or user access changes.
Customize Invoice Templates
Zoho Books allows you to customize invoice templates so your invoices can match your business branding and include the information your customers need.
Customization Options
Depending on your Zoho Books edition and template, you may be able to customize:
- Business Logo – Add your company logo.
- Business Information – Display your company name, address, and contact details.
- Invoice Fields – Choose and arrange relevant invoice fields.
- Customer Information – Display customer details on the invoice.
- Terms and Conditions – Add payment terms or other important information.
- Notes – Include additional instructions or messages.
- Layout – Adjust the appearance and arrangement of invoice elements.
- Branding – Match the invoice design with your business identity.
How to Customize a Template
- Open Settings.
- Go to Templates or the relevant transaction template section.
- Select Invoices.
- Choose the template you want to edit.
- Customize the available fields, layout, and branding options.
- Preview the template to check how it looks.
- Save your changes and set the template as the default if required.
Set Up Invoice Reminders
Invoice reminders help you automatically follow up with customers when invoices are approaching their due dates or remain unpaid.
Step-by-Step
- Open Settings.
- Go to Reminders.
- Select the Invoice Reminders option.
- Choose when reminders should be sent, such as before or after the due date.
- Enable the reminders you want to use.
- Review the reminder settings.
- Save your changes.
Why Use Invoice Reminders?
Automated reminders can reduce manual follow-ups and help you stay on top of outstanding customer payments. Zoho Books also provides reminder options for other supported transactions, such as bills.
Common Zoho Books Problems and Solutions
If you encounter an issue while using Zoho Books, the following troubleshooting steps can help identify and resolve common problems.
| Problem | Recommended Action |
|---|---|
| Cannot Log In | Verify your Zoho account credentials and complete any required security verification. |
| Forgot Password | Use the Zoho account recovery process to reset your password. |
| Invoice Not Sending | Check the customer’s email address, invoice status, and email configuration. |
| Wrong Invoice Amount | Review the quantity, rate, discounts, adjustments, and applied taxes. |
| Payment Not Showing | Confirm that the payment was recorded and linked to the correct invoice. |
| Bank Transaction Missing | Check the bank connection and review the transaction import status. |
| Incorrect Tax | Review your tax settings and the tax assigned to the item or transaction. |
| User Cannot Access a Feature | Check the user’s assigned role and permissions. |
| Report Appears Incomplete | Review the date range, filters, transaction status, and user permissions. |
| Invoice Shows as Overdue | Verify the invoice due date and confirm whether the payment has been recorded. |
| Wrong Customer Selected | Edit the transaction and verify the customer information. |
| Recurring Invoice Not Generated | Check that the recurring invoice schedule is active and correctly configured. |
Reporting Tip
If a transaction does not appear in a report, check its status first. Draft transactions may not be included in certain reports, so make sure transactions are finalized when appropriate before reviewing reporting data.
Zoho Books Best Practices
Following good bookkeeping practices helps keep your Zoho Books records accurate, organized, and secure.
- Keep your organization profile and business information up to date.
- Maintain accurate customer and vendor records.
- Record financial transactions promptly to avoid missing or outdated information.
- Review invoices and transaction details before sending or saving them.
- Apply customer payments to the correct invoices.
- Reconcile bank transactions regularly and investigate discrepancies.
- Keep receipts and supporting documents for your accounting records.
- Review tax settings before recording transactions.
- Give employees only the permissions they need for their roles.
- Monitor overdue invoices and follow up on outstanding balances.
- Review financial reports regularly to monitor business activity.
- Maintain appropriate backups and records according to your business requirements.
- Use strong security practices and protect your Zoho Books account credentials.
Quick Zoho Books Workflow
For a new business, you can follow this basic workflow to set up Zoho Books and manage your day-to-day accounting:
Create a Zoho Account
↓
Set Up Your Organization
↓
Configure Currency & Tax Settings
↓
Add Customers and Vendors
↓
Add Products or Services
↓
Connect or Add Bank Accounts
↓
Create and Send Invoices
↓
Record Customer Payments
↓
Record Expenses and Purchases
↓
Reconcile Bank Transactions
↓
Review Financial Reports
This workflow provides a simple starting point for keeping your accounting records organized as your business grows.
Zoho Books Login
You can sign in to zoho books sign in using your Zoho account credentials and access your organization’s accounting dashboard.
Step-by-Step
- Open the official Zoho Books Qatar website.
- Click Sign In.
- Enter your Zoho account email address and password.
- Complete any required security verification.
- Select your Zoho Books organization if prompted.
- Once signed in, open the dashboard to access your accounting tools.
Login Problems
If you cannot sign in, verify your account credentials and complete any required security checks. If you have forgotten your password or cannot access your account, use Zoho’s official account recovery or support options.
Avoid creating a new organization simply because you cannot access an existing account, as this can lead to duplicate or disconnected accounting records.
Zoho Books Support
If you cannot resolve an issue through Zoho Books settings or standard troubleshooting, you can use Zoho’s official support resources for additional help.
Available Support Resources
Zoho Books provides resources such as:
- Help documentation for step-by-step guidance
- FAQs for common questions and issues
- Video tutorials for visual instructions
- Migration guides for moving accounting data
- Business guides for accounting-related topics
- Accountant resources for accounting professionals
- Community forums for user discussions and solutions
- Support options for contacting Zoho when further assistance is required
For detailed guidance and available support options, visit the official Zoho Books Help & Support center.
FAQs
Final Thoughts
Zoho Books provides a centralized platform for managing invoices, customers, expenses, payments, bookkeeping, banking, taxes, and financial reports. For new users, it is best to complete the organization setup first, configure the applicable currency and tax settings, and then add customers, vendors, and products or services before recording transactions.
Once your setup is complete, everyday tasks such as creating invoices, recording payments, managing expenses, reconciling transactions, and reviewing financial reports can be handled within the same platform.
For accurate bookkeeping, keep your records up to date and verify the tax requirements, available features, and settings that apply to your country, Zoho Books edition, and subscription plan.