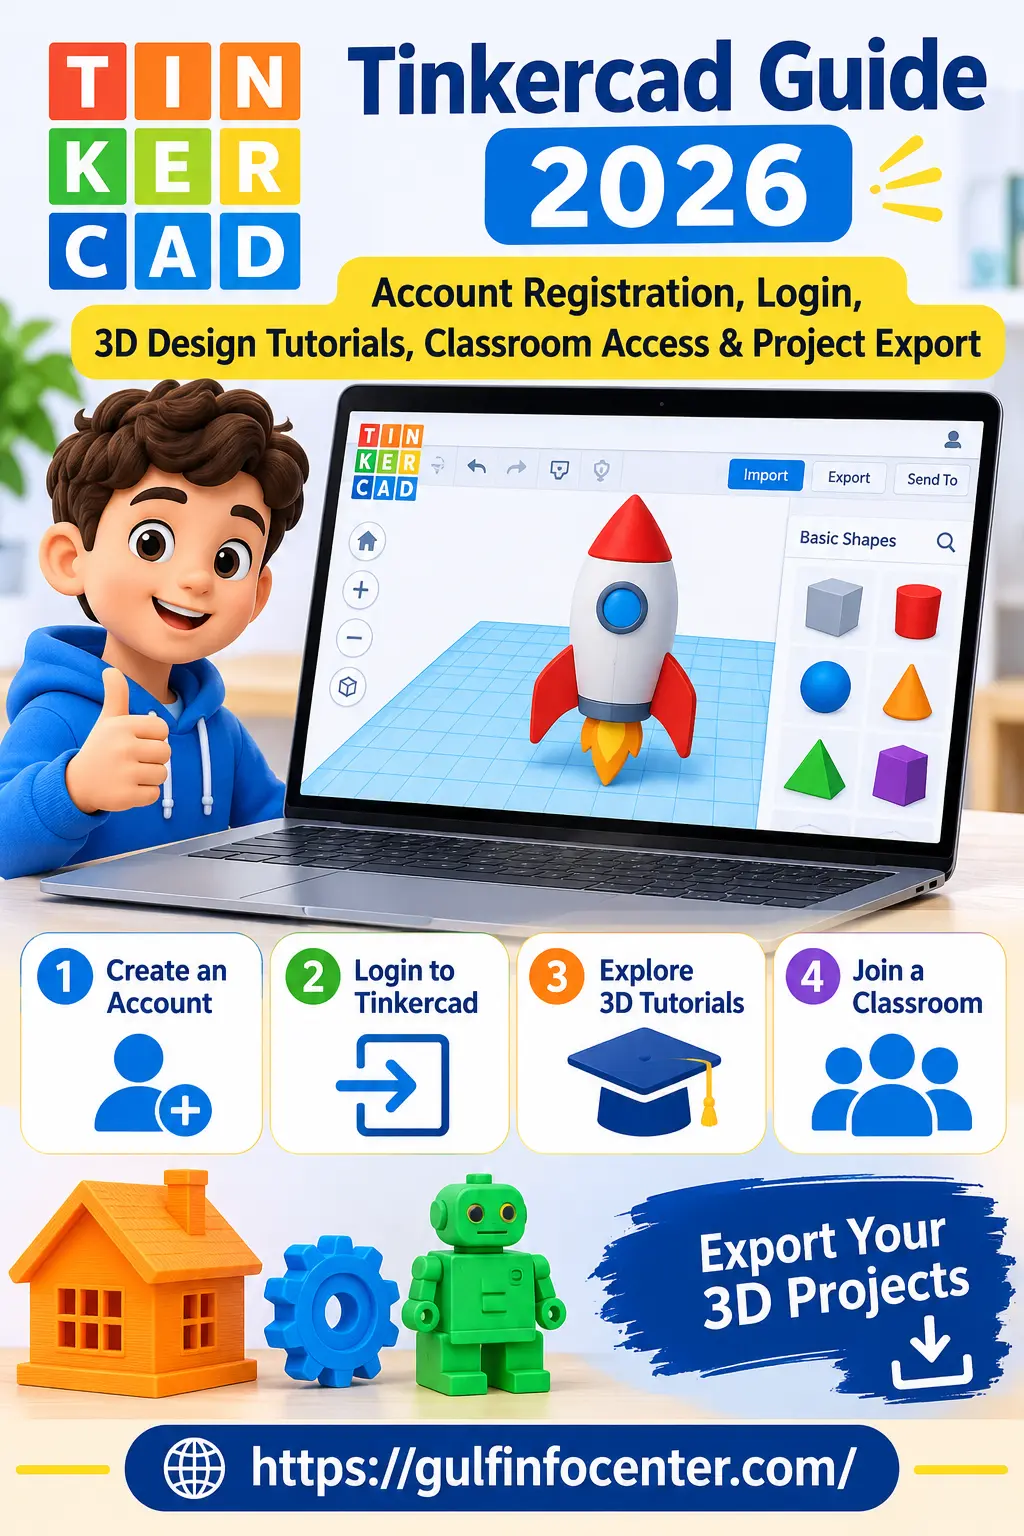

Tinkercad is an online design platform that makes it possible to build 3D models, experiment with electronic circuits, and explore digital design directly through a web browser. Created by Autodesk, it offers an accessible starting point for students, educators, hobbyists, and anyone interested in learning the basics of 3D modelling or electronics without needing advanced technical skills or complex software installations.
With its visual workspace, users can combine ready-made shapes, use drag-and-drop controls, follow interactive tutorials, and develop their own creative projects. tinkercad also supports online project storage, classroom collaboration, and design sharing, allowing users to work on their projects from different devices. Finished models can be exported for 3D printing or used in other compatible design applications.
Whether you are a student working on a school assignment, a teacher introducing digital design, or a beginner exploring 3D modelling, tinkercad provides practical tools to get started. This guide covers the essential steps, from creating an account and signing in to designing your first 3D model, using classroom features, and exporting your finished work.
Understanding Tinkercad and Its Main Design Tools
Tinkercad is a browser-based creative platform designed to help beginners explore 3D modelling, electronics, and visual programming. Its workspace allows users to build objects by combining geometric shapes, changing their size and proportions, inserting text, and arranging different elements to produce customised designs. No advanced modelling experience is needed to get started.
The platform brings three different creative environments together, each serving a specific purpose:
Three Main Workspaces in tinkercad
- 3D Design: Build 3D objects, product prototypes, customised models, and projects that can be prepared for 3D printing.
- Circuits: Experiment with virtual electronic components, assemble circuits, and simulate how they work without requiring physical hardware.
- Codeblocks: Use visual programming blocks to generate and customise 3D designs through code-based instructions.
tinkercad Features at a Glance
Tinkercad provides several tools that make designing and learning more accessible. The following table highlights its main capabilities and how users can benefit from them.
| Feature | What It Offers |
|---|---|
| Free Account | Access the platform and start creating projects without a paid subscription. |
| 3D Design Tools | Build, customise, and modify three-dimensional objects. |
| Interactive Tutorials | Learn design techniques through guided lessons. |
| Circuit Simulator | Assemble and test electronic circuits virtually. |
| Visual Programming | Create 3D models using Codeblocks. |
| Classroom Tools | Support teacher-guided projects and student learning activities. |
| Design Export | Download completed projects in supported file formats. |
| Online Storage | Keep designs saved online and access them through your account. |
Why these tools matter: Beginners can explore different areas of digital design in one platform. Students can practise modelling and electronics, while teachers can use classroom features to introduce practical learning activities.
Readmore:Homepage
How to Create a Tinkercad Account
A tinkercad account gives you a personal workspace where you can create 3D models, save your projects, explore electronic circuits, and access your designs whenever you need them. The registration process is straightforward, with different sign-up options available for individual users, teachers, and students.
Follow the instructions below to get started.

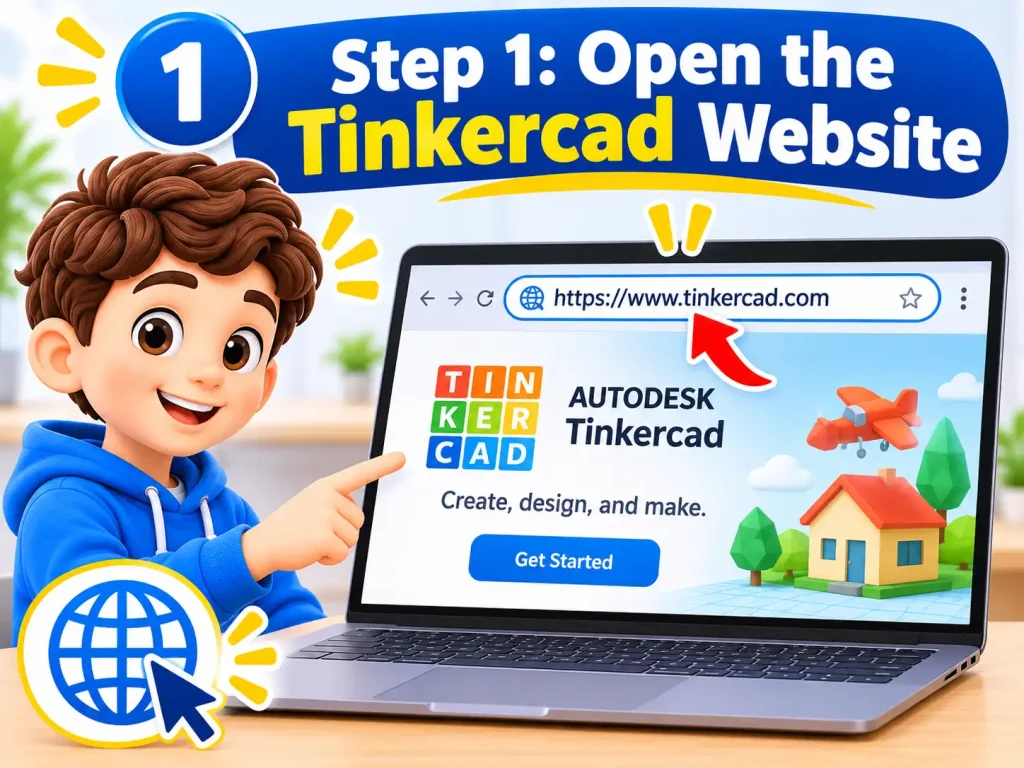
Step 1: Open the Tinkercad Website
Start by visiting the tinkercad platform through a supported web browser. You can use Google Chrome, Mozilla Firefox, Microsoft Edge, or Safari.
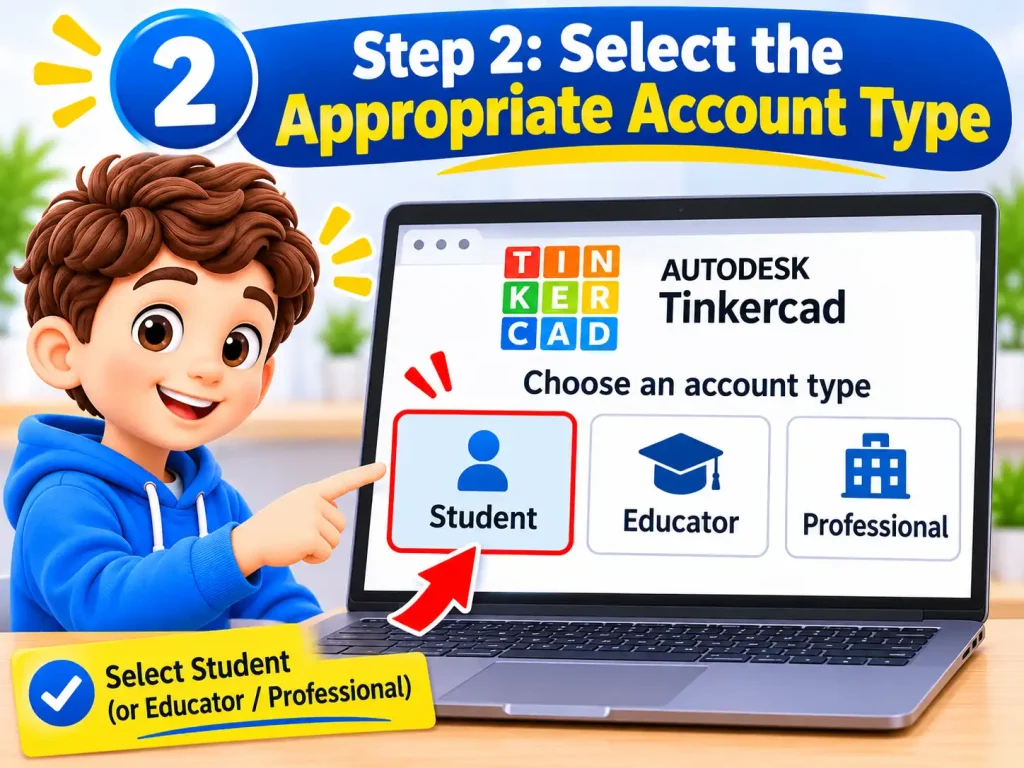
Step 2: Select the Appropriate Account Type
Tinkercad provides different registration routes depending on whether you want to use the platform independently or as part of a classroom.
Choose the option that matches your situation:
Tip: If you are learning 3D modelling independently, choose the personal account option rather than classroom registration.
Step 3: Choose Your Preferred Sign-Up Method
After selecting an account type, review the available registration methods. Depending on the options displayed, you may be able to use:
Select your preferred method and proceed with the on-screen instructions.

Step 4: Provide Your Registration Information
If you choose email registration, Autodesk may request some basic information to establish your account.
The requested details can include:
Use an active email address and create a strong password that you do not use for other websites.
Step 5: Verify Your Account
Depending on your registration method, Autodesk may require additional verification before activating access.
Registration complete
Your account is ready once registration and any required verification have been completed. You can now open your dashboard and start working on your first project.
How to Log In to Tinkercad
After registering, you can use your Autodesk account to access Tinkercad and continue working on previously saved projects. Signing in also gives you access to the design editor, tutorials, and available classroom activities.
Step 1: Navigate to the Tinkercad Login Page
Open your web browser and visit the Tinkercad homepage. Locate the Log In or Sign In option to open the Autodesk authentication page.
Step 2: Enter Your Account Email
Provide the email address associated with your Tinkercad or Autodesk account.
Check that you have entered the correct address before continuing. Select Next to proceed.
Step 3: Enter Your Password
Type your account password into the designated field. Make sure there are no accidental spaces or typing errors.
Select the sign-in option to continue.
Step 4: Complete Additional Verification
Autodesk may request an additional security check depending on your account settings and sign-in circumstances. Follow any instructions displayed on the screen to complete authentication.
Step 5: Open Your Tinkercad Dashboard
Once your credentials have been accepted, you should be able to access your account dashboard.
From this area, you can:
How to Reset a Forgotten Tinkercad Password
If you cannot remember your Autodesk account password, use the available password recovery process to regain access.
Important: If you originally registered using Google or Apple, you may need to recover your password through the corresponding account provider instead.
Creating Your First 3D Model in Tinkercad
Tinkercad’s 3D Design workspace allows beginners to build models without learning complicated modelling software. You can place basic objects on a virtual workplane, adjust their dimensions, and combine different shapes to produce a finished design.
Step 1: Launch the 3D Design Editor
Begin by opening your Tinkercad dashboard after signing in.
You now have a blank workspace ready for your first model.
Step 2: Explore the Design Workspace
Before adding objects, familiarise yourself with the main editing controls. Understanding these tools will make it easier to position shapes and adjust your design.
| Workspace Tool | Main Function |
|---|---|
| Workplane | Provides the main surface for building 3D models. |
| Shape Library | Contains ready-made geometric objects. |
| Navigation Controls | Allow you to zoom, rotate, and move around the workspace. |
| Edit Toolbar | Provides options for modifying selected objects. |
| Undo and Redo | Reverse or restore recent editing actions. |
| View Controls | Change the viewing angle of your model. |
Step 3: Insert Basic Shapes
Your first model can be created using simple geometric objects. The Shape Library includes options such as boxes, spheres, cylinders, and cones.
To add an object:
You can repeat this process to place additional shapes and develop a more detailed model.
Step 4: Adjust the Position, Size, and Rotation
Once an object appears on the workplane, you can modify its appearance and placement using the editing handles.
The main adjustments include:
For models that require precise measurements, use numerical dimension fields wherever available instead of relying entirely on manual adjustments.
Step 5: Combine Shapes to Build a Model
Combining geometric objects allows you to create more advanced designs from basic components.
Follow this process:
You can also change a solid object into a Hole to remove part of another shape when grouping them. This technique is useful for creating openings, cut-outs, and hollow sections.
Step 6: Rename Your Project
Giving your design a descriptive name makes it easier to identify when you return to your dashboard.
Tinkercad automatically saves design changes when you are connected to the internet, allowing you to return to your work later.e internet. However, wait for saving to finish before closing the browser.
Learning Tinkercad Through Interactive 3D Design Tutorials
Tinkercad includes a collection of guided lessons that introduce users to its design tools and demonstrate how different 3D objects are created. These tutorials are particularly useful for beginners who want to understand the workspace before starting their own projects.
Users can practise individual modelling techniques, follow on-screen instructions, and gradually move towards more advanced designs.
Step 1: Find the Tinkercad Learning Centre
Start by opening the Tinkercad platform and signing in to your account.
Step 2: Select a Beginner-Friendly Lesson
If you are new to 3D modelling, begin with tutorials that introduce the basic editing controls.
Some useful topics include:
Learning these operations first will make more complicated projects easier to manage.
Step 3: Complete the Interactive Exercises
Choose a tutorial and follow the instructions displayed in the learning environment. Each activity introduces a particular design technique and allows you to practise it directly in the workspace.
Take your time with each exercise rather than moving through the lessons too quickly. Repeating an operation can help you understand how the editing tools behave.
Step 4: Practise by Building a Small Project
After completing the introductory lessons, apply what you have learned to an independent design.
Here are some beginner project ideas:
These projects help you practise positioning, resizing, grouping, and combining objects.
Step 5: Explore More Advanced Design Lessons
Once you are comfortable with the basic controls, explore projects involving product development, architecture, robotics, mathematics, and 3D printing.
Working through different examples will help you understand how Tinkercad can be used beyond basic geometric modelling.
Useful Tinkercad Tutorials for Beginners
| Tutorial Topic | Skills You Can Develop |
|---|---|
| Learn the Basics | Understand the main design workspace. |
| Place and Move Shapes | Position objects accurately. |
| Rotate and Resize | Adjust object dimensions and orientation. |
| Group Objects | Combine multiple shapes into a model. |
| Create Holes | Remove selected sections from objects. |
| Camera Controls | Navigate around a 3D design. |
| 3D Printing | Prepare models for physical printing. |
Explore more projects: Tinkercad also provides ready-made designs that can help beginners understand different modelling techniques and find inspiration for their own creations.
How to Use Tinkercad Classroom
Tinkercad Classroom is designed to support teachers and students during digital design lessons. It allows educators to organise virtual classrooms, provide students with access instructions, and manage classroom-based design activities.
Teachers can use the classroom dashboard to organise participants and share access information, while students can join their assigned class and work on educational projects.
A. Setting Up a Tinkercad Classroom as a Teacher
Teachers can establish a virtual learning environment through their educator accounts.
Step 1: Sign In Using an Educator Account
Step 2: Create a New Classroom
After accessing your educator account:
Your classroom should now appear in the educator dashboard.
Step 3: Organise Student Access
Use the available classroom management options to add or organise students. Depending on the classroom configuration, teachers may be able to assign student names and individual nicknames.
Step 4: Share the Classroom Invitation
Open the classroom dashboard and locate its access code or invitation link.
Share the relevant joining information with students so they can enter the correct classroom.
B. Joining a Tinkercad Classroom as a Student
Students can access a classroom using the joining information supplied by their teacher. The process depends on whether the educator uses the classroom nickname system or individual student accounts.
Step 1: Open Tinkercad
Navigate to the Tinkercad homepage using your browser.
Step 2: Choose the Student Classroom Option
Select Join Now and look for the Students, Join a Class option.
Step 3: Enter the Classroom Code
Type the classroom code provided by your teacher. If your teacher has assigned you a nickname, enter it when requested.
Step 4: Follow the Joining Instructions
Complete the remaining on-screen steps to enter the classroom.
Step 5: Access Your Classroom Activities
After joining successfully, you can access the activities and design projects made available by your teacher.
Classroom access complete
Important: Students may be able to join without creating an individual account when their teacher uses the classroom nickname system. Existing student accounts may also be used. Age-related privacy rules and school consent requirements can apply.
How to Export and Download Tinkercad Designs
Once your 3D model is ready, you can export it from Tinkercad and save a copy on your computer. Exporting is useful when you want to prepare a design for 3D printing, share it with someone, or open it in compatible design software.
Step 1: Open the Project You Want to Export
Sign in to your account and navigate to your dashboard.
Step 2: Review Your Completed Model
Before downloading, inspect the design to make sure it is ready for export.
Check the following:
This review can help prevent problems when the design is opened in another application or prepared for printing.
Step 3: Open the Export Menu
Locate the Export option in the design editor and select it.
A list of available file formats should appear. The options depend on the type of project and the content you are exporting.
Step 4: Select a Suitable File Format
Different formats are intended for different design and production workflows.
| File Format | Common Use |
|---|---|
| STL | Exporting 3D models for 3D printing. |
| OBJ | Transferring 3D objects to compatible modelling applications. |
| GLTF | Supporting compatible 3D model and scene workflows. |
| SVG | Exporting 2D vector designs for compatible applications. |
Choosing the right format: STL is commonly used when preparing a 3D model for printing, while OBJ and GLTF can be useful for other compatible 3D design workflows. SVG is intended for supported 2D vector content.
Step 5: Download the Exported File
After selecting your preferred format:
Keep the downloaded project in a clearly named folder so you can find it when needed.
Step 6: Prepare Your Design for 3D Printing
If your goal is to produce a physical object, the exported model needs to be prepared using compatible 3D printing software.
Follow these general steps:
Your model is now ready for the printing workflow. Check the final dimensions and printer settings before starting the physical print to avoid wasting material.
Benefits of Using Tinkercad
Tinkercad provides several benefits for anyone interested in learning 3D modelling, exploring electronics, or developing basic computer-aided design skills. Its accessible tools and online workspace make it easier for beginners to experiment with digital design without needing advanced technical knowledge.
Key Benefits of Tinkercad
Common Tinkercad Problems and Solutions
Users may occasionally experience problems with account access, classroom codes, project saving, or design exports. Most common issues can be addressed by checking account details, reviewing browser settings, and ensuring a stable internet connection.
| Common Problem | Recommended Solution |
|---|---|
| Cannot log in | Check your email address and password before trying again. |
| Forgot password | Follow the Autodesk account recovery process. |
| Registration unsuccessful | Review your registration details and try again. |
| Classroom code not working | Ask your teacher to confirm the correct class code. |
| Cannot find a saved project | Check your Tinkercad dashboard and make sure you are using the correct account. |
| Design not saving | Check your internet connection and allow the saving process to finish. |
| Export not working | Refresh the design editor and try exporting again. |
| Design looks incorrect | Review object alignment, dimensions, and grouping. |
| Website not loading | Try another supported browser or clear your browser cache. |
Additional Troubleshooting Tips
Tips for Using Tinkercad Effectively
A few simple habits can help you work more confidently and create better designs in Tinkercad. Start with basic tools, practise regularly, and make sure your projects are organised before exporting or submitting them.
FAQs
Conclusion
Tinkercad is a practical online platform for learning 3D modelling, creating digital objects, and exploring basic electronics and visual programming. Its free access, beginner-friendly tools, interactive tutorials, and classroom features make it a useful option for students, teachers, hobbyists, and other beginners.
By following this guide, you can create a Tinkercad account, sign in, explore its design workspaces, and start building your first 3D model. You can also use classroom tools, practise through interactive tutorials, and export completed projects for compatible applications or 3D printing. With regular practice and a good understanding of its features, you can gradually develop your digital design skills.t 3D project, join a classroom, and export completed designs for further use. Start with simple projects and gradually explore more advanced design features to improve your skills.