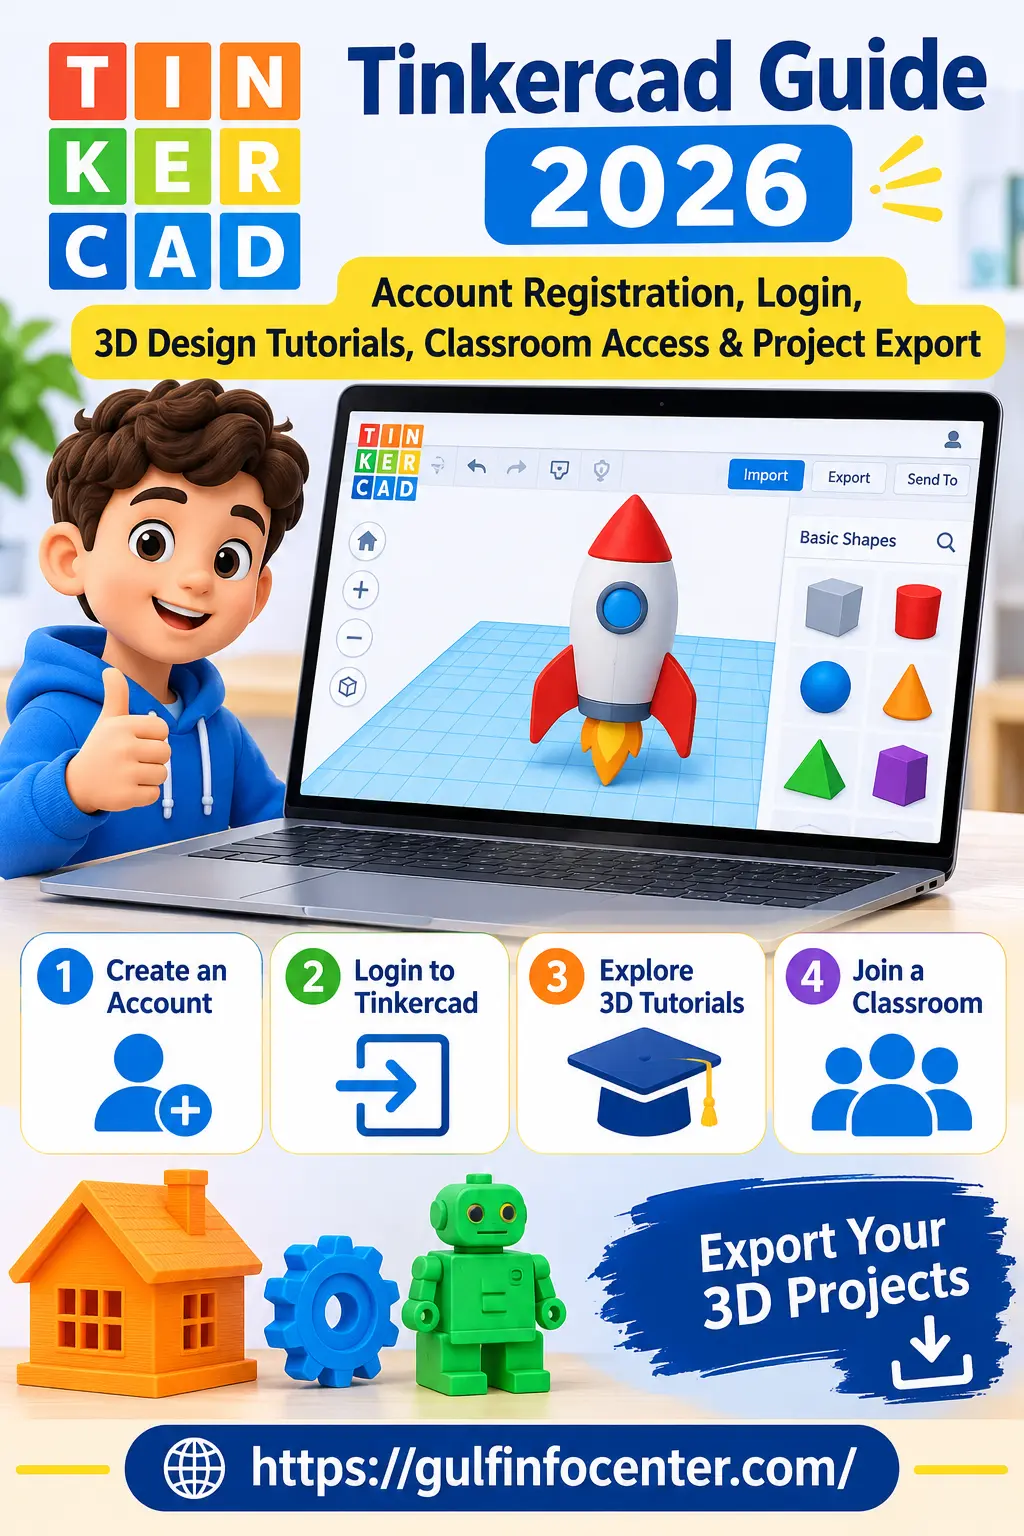
Tinkercad Guide 2026: Account Registration, Login, 3D Design Tutorials, Classroom Access & Project Export

Tinkercad is an online design platform that makes it possible to build 3D models, experiment with electronic circuits, and explore digital design directly through a web browser. Created by Autodesk, it offers an accessible starting point for students, educators, hobbyists, and anyone interested in learning the basics of 3D modelling or electronics without needing advanced technical skills or complex software installations.

With its visual workspace, users can combine ready-made shapes, use drag-and-drop controls, follow interactive tutorials, and develop their own creative projects. tinkercad also supports online project storage, classroom collaboration, and design sharing, allowing users to work on their projects from different devices. Finished models can be exported for 3D printing or used in other compatible design applications.

Whether you are a student working on a school assignment, a teacher introducing digital design, or a beginner exploring 3D modelling, tinkercad provides practical tools to get started. This guide covers the essential steps, from creating an account and signing in to designing your first 3D model, using classroom features, and exporting your finished work.

Understanding Tinkercad and Its Main Design Tools

Tinkercad is a browser-based creative platform designed to help beginners explore 3D modelling, electronics, and visual programming. Its workspace allows users to build objects by combining geometric shapes, changing their size and proportions, inserting text, and arranging different elements to produce customised designs. No advanced modelling experience is needed to get started.

The platform brings three different creative environments together, each serving a specific purpose:

Three Main Workspaces in tinkercad

  • 3D Design: Build 3D objects, product prototypes, customised models, and projects that can be prepared for 3D printing.
  • Circuits: Experiment with virtual electronic components, assemble circuits, and simulate how they work without requiring physical hardware.
  • Codeblocks: Use visual programming blocks to generate and customise 3D designs through code-based instructions.

tinkercad Features at a Glance

Tinkercad provides several tools that make designing and learning more accessible. The following table highlights its main capabilities and how users can benefit from them.

FeatureWhat It Offers
Free AccountAccess the platform and start creating projects without a paid subscription.
3D Design ToolsBuild, customise, and modify three-dimensional objects.
Interactive TutorialsLearn design techniques through guided lessons.
Circuit SimulatorAssemble and test electronic circuits virtually.
Visual ProgrammingCreate 3D models using Codeblocks.
Classroom ToolsSupport teacher-guided projects and student learning activities.
Design ExportDownload completed projects in supported file formats.
Online StorageKeep designs saved online and access them through your account.

Why these tools matter: Beginners can explore different areas of digital design in one platform. Students can practise modelling and electronics, while teachers can use classroom features to introduce practical learning activities.

Readmore:Homepage

How to Create a Tinkercad Account

A tinkercad account gives you a personal workspace where you can create 3D models, save your projects, explore electronic circuits, and access your designs whenever you need them. The registration process is straightforward, with different sign-up options available for individual users, teachers, and students.

Follow the instructions below to get started.

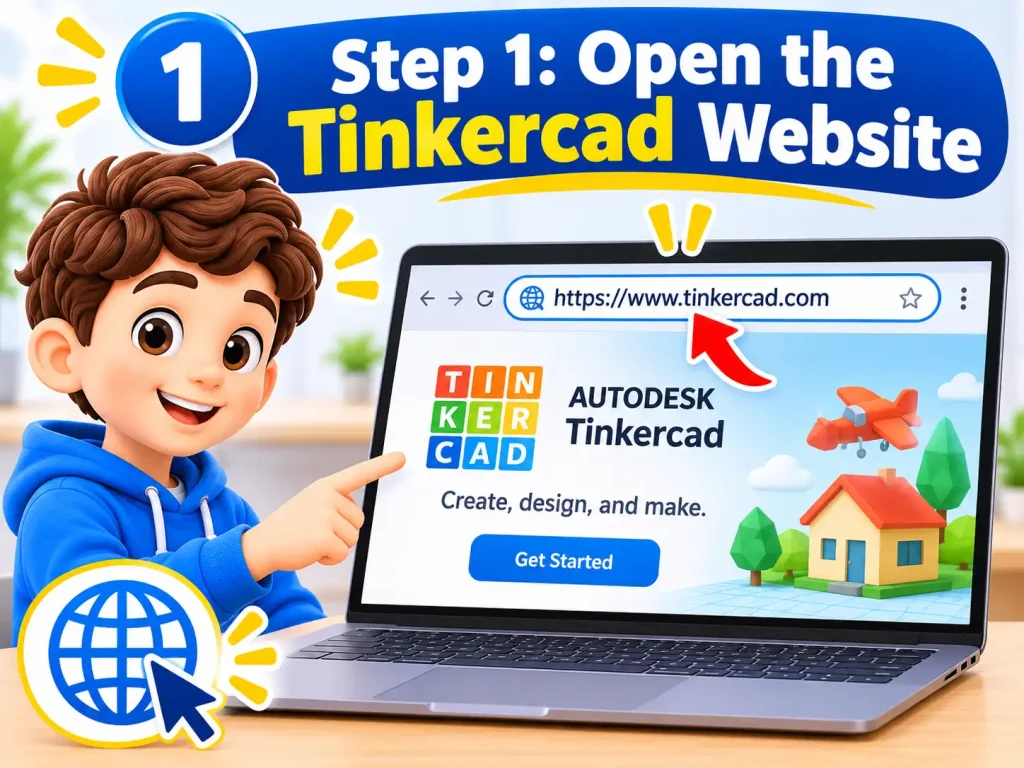
Step 1: Open the Tinkercad Website

Start by visiting the tinkercad platform through a supported web browser. You can use Google Chrome, Mozilla Firefox, Microsoft Edge, or Safari.
  • Open your preferred browser.
  • Navigate to the tinkercad homepage.
  • Find the Join Now, Sign Up, or equivalent registration option.
  • Select it to view the available account creation methods.

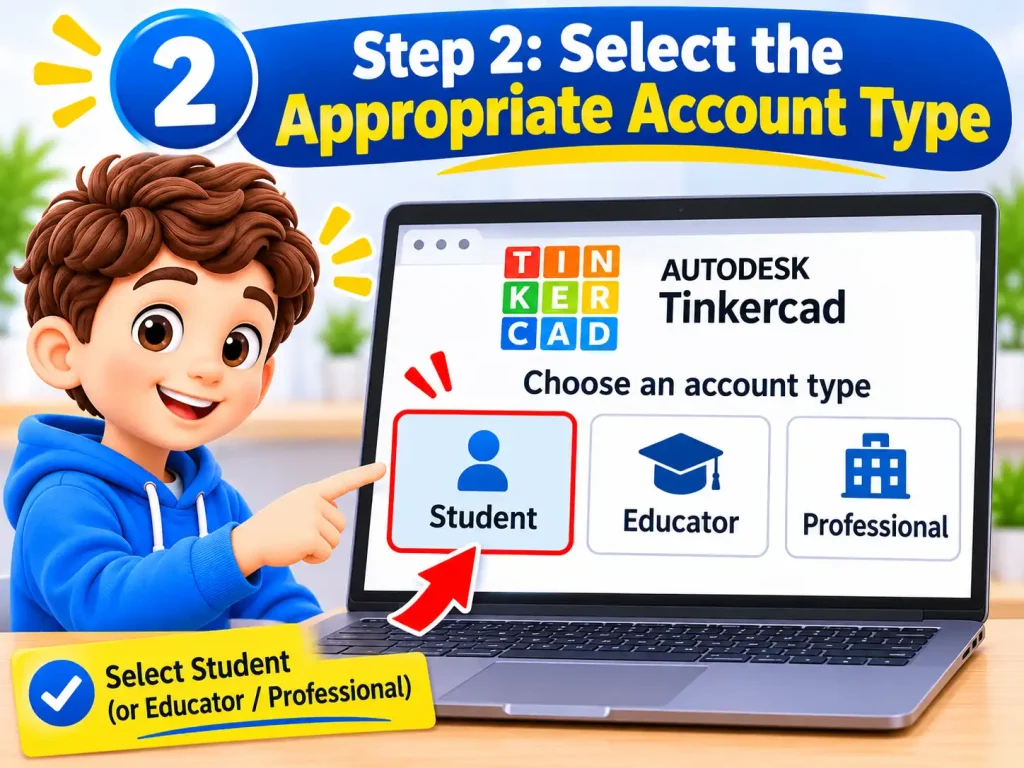
Step 2: Select the Appropriate Account Type

Tinkercad provides different registration routes depending on whether you want to use the platform independently or as part of a classroom.

Choose the option that matches your situation:

  • Personal Account: Suitable for individuals who want to create and manage their own designs.
  • Educators Start Here: Intended for teachers who want to organise classroom activities and manage student access.
  • Students, Join a Class: Allows students to enter a classroom using a code supplied by their teacher.

Tip: If you are learning 3D modelling independently, choose the personal account option rather than classroom registration.
Step 3: Choose Your Preferred Sign-Up Method

After selecting an account type, review the available registration methods. Depending on the options displayed, you may be able to use:

  • Email address
  • Google account
  • Apple account
  • Another supported Autodesk sign-in method

Select your preferred method and proceed with the on-screen instructions.

Step 4: Provide Your Registration Information

If you choose email registration, Autodesk may request some basic information to establish your account.

The requested details can include:

  • Country or region
  • Date of birth
  • Email address
  • Password
  • Acceptance of applicable terms and privacy requirements

Use an active email address and create a strong password that you do not use for other websites.

Step 5: Verify Your Account

Depending on your registration method, Autodesk may require additional verification before activating access.

  • Follow the verification instructions displayed during registration.
  • Check your inbox for an Autodesk confirmation email, if requested.
  • Open the message and complete the verification process.
  • Return to Tinkercad and sign in using your new account.

Registration complete

Your account is ready once registration and any required verification have been completed. You can now open your dashboard and start working on your first project.

How to Log In to Tinkercad

After registering, you can use your Autodesk account to access Tinkercad and continue working on previously saved projects. Signing in also gives you access to the design editor, tutorials, and available classroom activities.

Step 1: Navigate to the Tinkercad Login Page

Open your web browser and visit the Tinkercad homepage. Locate the Log In or Sign In option to open the Autodesk authentication page.

Step 2: Enter Your Account Email

Provide the email address associated with your Tinkercad or Autodesk account.

Check that you have entered the correct address before continuing. Select Next to proceed.

Step 3: Enter Your Password

Type your account password into the designated field. Make sure there are no accidental spaces or typing errors.

Select the sign-in option to continue.

Step 4: Complete Additional Verification

Autodesk may request an additional security check depending on your account settings and sign-in circumstances. Follow any instructions displayed on the screen to complete authentication.

Step 5: Open Your Tinkercad Dashboard

Once your credentials have been accepted, you should be able to access your account dashboard.

From this area, you can:

  • Browse previously saved designs.
  • Start a new 3D modelling project.
  • Reopen an unfinished design.
  • Explore interactive learning tutorials.
  • Access available classroom activities.
  • Manage and organise your projects.

How to Reset a Forgotten Tinkercad Password

If you cannot remember your Autodesk account password, use the available password recovery process to regain access.

  • Open the Tinkercad sign-in page.
  • Enter your registered email address.
  • Select the password recovery option, such as Forgot Password, when displayed.
  • Follow the account recovery instructions.
  • Check your email for a password reset message, if requested.
  • Create a new password and use it to sign in again.

Important: If you originally registered using Google or Apple, you may need to recover your password through the corresponding account provider instead.

Creating Your First 3D Model in Tinkercad

Tinkercad’s 3D Design workspace allows beginners to build models without learning complicated modelling software. You can place basic objects on a virtual workplane, adjust their dimensions, and combine different shapes to produce a finished design.

Step 1: Launch the 3D Design Editor

Begin by opening your Tinkercad dashboard after signing in.

  • Navigate to the 3D Designs area.
  • Select Create New Design.
  • Wait for the design editor to load.
  • Locate the empty workplane where your objects will be placed.

You now have a blank workspace ready for your first model.

Step 2: Explore the Design Workspace

Before adding objects, familiarise yourself with the main editing controls. Understanding these tools will make it easier to position shapes and adjust your design.

Workspace ToolMain Function
WorkplaneProvides the main surface for building 3D models.
Shape LibraryContains ready-made geometric objects.
Navigation ControlsAllow you to zoom, rotate, and move around the workspace.
Edit ToolbarProvides options for modifying selected objects.
Undo and RedoReverse or restore recent editing actions.
View ControlsChange the viewing angle of your model.

Step 3: Insert Basic Shapes

Your first model can be created using simple geometric objects. The Shape Library includes options such as boxes, spheres, cylinders, and cones.

To add an object:

  • Open the Basic Shapes panel.
  • Browse the available geometric shapes.
  • Select an object, such as a box or cylinder.
  • Drag it onto the workplane.
  • Click the object to activate its editing controls.
  • Adjust its size using the available handles.

You can repeat this process to place additional shapes and develop a more detailed model.

Step 4: Adjust the Position, Size, and Rotation

Once an object appears on the workplane, you can modify its appearance and placement using the editing handles.

The main adjustments include:

  • Move: Drag an object to reposition it on the workplane.
  • Resize: Use the corner and side handles to change its dimensions.
  • Rotate: Select the curved rotation handles to turn the object.
  • Adjust Height: Change its vertical position or height using the relevant controls.
  • Duplicate: Create another copy of an existing object.

For models that require precise measurements, use numerical dimension fields wherever available instead of relying entirely on manual adjustments.

Step 5: Combine Shapes to Build a Model

Combining geometric objects allows you to create more advanced designs from basic components.

Follow this process:

  • Add two or more objects to the workplane.
  • Move them into their intended positions.
  • Select the objects you want to combine.
  • Use the Align tool to position them accurately.
  • Select Group to merge the selected shapes into one grouped model.

You can also change a solid object into a Hole to remove part of another shape when grouping them. This technique is useful for creating openings, cut-outs, and hollow sections.

Step 6: Rename Your Project

Giving your design a descriptive name makes it easier to identify when you return to your dashboard.

  • Locate the project name at the top of the editor.
  • Select the existing name.
  • Enter a suitable title for your model.
  • Confirm the change.

Tinkercad automatically saves design changes when you are connected to the internet, allowing you to return to your work later.e internet. However, wait for saving to finish before closing the browser.

Learning Tinkercad Through Interactive 3D Design Tutorials

Tinkercad includes a collection of guided lessons that introduce users to its design tools and demonstrate how different 3D objects are created. These tutorials are particularly useful for beginners who want to understand the workspace before starting their own projects.

Users can practise individual modelling techniques, follow on-screen instructions, and gradually move towards more advanced designs.

Step 1: Find the Tinkercad Learning Centre

Start by opening the Tinkercad platform and signing in to your account.

  • Navigate to the learning or tutorials section.
  • Look for the available design lessons.
  • Select the 3D Design learning category.
  • Browse the lessons to find a suitable starting point.

Step 2: Select a Beginner-Friendly Lesson

If you are new to 3D modelling, begin with tutorials that introduce the basic editing controls.

Some useful topics include:

  • Moving objects around the workplane.
  • Rotating and resizing geometric shapes.
  • Understanding the design workspace.
  • Creating holes in solid objects.
  • Grouping multiple shapes.
  • Using camera and navigation controls.

Learning these operations first will make more complicated projects easier to manage.

Step 3: Complete the Interactive Exercises

Choose a tutorial and follow the instructions displayed in the learning environment. Each activity introduces a particular design technique and allows you to practise it directly in the workspace.

Take your time with each exercise rather than moving through the lessons too quickly. Repeating an operation can help you understand how the editing tools behave.

Step 4: Practise by Building a Small Project

After completing the introductory lessons, apply what you have learned to an independent design.

Here are some beginner project ideas:

  • Pencil holder
  • Personalised nameplate
  • Simple house model
  • Custom keychain
  • Decorative desk accessory

These projects help you practise positioning, resizing, grouping, and combining objects.

Step 5: Explore More Advanced Design Lessons

Once you are comfortable with the basic controls, explore projects involving product development, architecture, robotics, mathematics, and 3D printing.

Working through different examples will help you understand how Tinkercad can be used beyond basic geometric modelling.

Useful Tinkercad Tutorials for Beginners

Tutorial TopicSkills You Can Develop
Learn the BasicsUnderstand the main design workspace.
Place and Move ShapesPosition objects accurately.
Rotate and ResizeAdjust object dimensions and orientation.
Group ObjectsCombine multiple shapes into a model.
Create HolesRemove selected sections from objects.
Camera ControlsNavigate around a 3D design.
3D PrintingPrepare models for physical printing.

Explore more projects: Tinkercad also provides ready-made designs that can help beginners understand different modelling techniques and find inspiration for their own creations.

How to Use Tinkercad Classroom

Tinkercad Classroom is designed to support teachers and students during digital design lessons. It allows educators to organise virtual classrooms, provide students with access instructions, and manage classroom-based design activities.

Teachers can use the classroom dashboard to organise participants and share access information, while students can join their assigned class and work on educational projects.

A. Setting Up a Tinkercad Classroom as a Teacher

Teachers can establish a virtual learning environment through their educator accounts.

Step 1: Sign In Using an Educator Account

  • Open the Tinkercad homepage.
  • Select the registration or sign-in option.
  • Choose Educators Start Here if creating a new educator account.
  • Follow the displayed instructions to access the educator workspace.

Step 2: Create a New Classroom

After accessing your educator account:

  • Navigate to the Classes section.
  • Select Create New Class.
  • Enter the requested classroom information.
  • Review the details and save the classroom.

Your classroom should now appear in the educator dashboard.

Step 3: Organise Student Access

Use the available classroom management options to add or organise students. Depending on the classroom configuration, teachers may be able to assign student names and individual nicknames.

Step 4: Share the Classroom Invitation

Open the classroom dashboard and locate its access code or invitation link.

Share the relevant joining information with students so they can enter the correct classroom.

B. Joining a Tinkercad Classroom as a Student

Students can access a classroom using the joining information supplied by their teacher. The process depends on whether the educator uses the classroom nickname system or individual student accounts.

Step 1: Open Tinkercad

Navigate to the Tinkercad homepage using your browser.

Step 2: Choose the Student Classroom Option

Select Join Now and look for the Students, Join a Class option.

Step 3: Enter the Classroom Code

Type the classroom code provided by your teacher. If your teacher has assigned you a nickname, enter it when requested.

Step 4: Follow the Joining Instructions

Complete the remaining on-screen steps to enter the classroom.

Step 5: Access Your Classroom Activities

After joining successfully, you can access the activities and design projects made available by your teacher.

Classroom access complete

Important: Students may be able to join without creating an individual account when their teacher uses the classroom nickname system. Existing student accounts may also be used. Age-related privacy rules and school consent requirements can apply.

How to Export and Download Tinkercad Designs

Once your 3D model is ready, you can export it from Tinkercad and save a copy on your computer. Exporting is useful when you want to prepare a design for 3D printing, share it with someone, or open it in compatible design software.

Step 1: Open the Project You Want to Export

Sign in to your account and navigate to your dashboard.

  • Browse your saved designs.
  • Find the project you want to download.
  • Select the design to open it in the editor.
  • Wait for the workspace to load.

Step 2: Review Your Completed Model

Before downloading, inspect the design to make sure it is ready for export.

Check the following:

  • All objects are positioned correctly.
  • Required shapes are grouped appropriately.
  • Unwanted objects have been removed.
  • Dimensions are suitable for your intended purpose.
  • No obvious modelling errors remain.

This review can help prevent problems when the design is opened in another application or prepared for printing.

Step 3: Open the Export Menu

Locate the Export option in the design editor and select it.

A list of available file formats should appear. The options depend on the type of project and the content you are exporting.

Step 4: Select a Suitable File Format

Different formats are intended for different design and production workflows.

File FormatCommon Use
STLExporting 3D models for 3D printing.
OBJTransferring 3D objects to compatible modelling applications.
GLTFSupporting compatible 3D model and scene workflows.
SVGExporting 2D vector designs for compatible applications.

Choosing the right format: STL is commonly used when preparing a 3D model for printing, while OBJ and GLTF can be useful for other compatible 3D design workflows. SVG is intended for supported 2D vector content.

Step 5: Download the Exported File

After selecting your preferred format:

  • Start the export process.
  • Wait for Tinkercad to prepare the file.
  • Save the downloaded file if your browser asks for confirmation.
  • Open your computer’s Downloads folder.
  • Check that the exported file is available.

Keep the downloaded project in a clearly named folder so you can find it when needed.

Step 6: Prepare Your Design for 3D Printing

If your goal is to produce a physical object, the exported model needs to be prepared using compatible 3D printing software.

Follow these general steps:

  • Export your design in STL format.
  • Open the STL file in compatible slicer software.
  • Review the model’s dimensions and orientation.
  • Select suitable printer and material settings.
  • Generate the printer-ready file supported by your 3D printer.

Your model is now ready for the printing workflow. Check the final dimensions and printer settings before starting the physical print to avoid wasting material.

Benefits of Using Tinkercad

Tinkercad provides several benefits for anyone interested in learning 3D modelling, exploring electronics, or developing basic computer-aided design skills. Its accessible tools and online workspace make it easier for beginners to experiment with digital design without needing advanced technical knowledge.

Key Benefits of Tinkercad

  • Free to Use: Start creating projects without purchasing expensive design software.
  • Beginner-Friendly Interface: Use simple drag-and-drop controls to create and edit 3D models.
  • No Software Installation: Access the platform through a supported web browser.
  • Built-In Learning Resources: Follow interactive tutorials to develop practical design skills.
  • Classroom Collaboration: Teachers can organise students, assign activities, and manage classroom projects.
  • 3D Printing Support: Export completed models for use with compatible 3D printing software.
  • Multiple Design Workspaces: Explore 3D Design, Circuits, and Codeblocks in one platform.
  • Online Project Access: Save your work to your account and return to your designs when needed.

Common Tinkercad Problems and Solutions

Users may occasionally experience problems with account access, classroom codes, project saving, or design exports. Most common issues can be addressed by checking account details, reviewing browser settings, and ensuring a stable internet connection.

Common ProblemRecommended Solution
Cannot log inCheck your email address and password before trying again.
Forgot passwordFollow the Autodesk account recovery process.
Registration unsuccessfulReview your registration details and try again.
Classroom code not workingAsk your teacher to confirm the correct class code.
Cannot find a saved projectCheck your Tinkercad dashboard and make sure you are using the correct account.
Design not savingCheck your internet connection and allow the saving process to finish.
Export not workingRefresh the design editor and try exporting again.
Design looks incorrectReview object alignment, dimensions, and grouping.
Website not loadingTry another supported browser or clear your browser cache.

Additional Troubleshooting Tips

  • Use an up-to-date version of Chrome, Edge, Firefox, or Safari.
  • Maintain a stable internet connection while working on projects.
  • Avoid closing the browser before your changes have finished saving.
  • Keep your Autodesk account details secure.
  • If account or technical problems continue, contact Autodesk support.

Tips for Using Tinkercad Effectively

A few simple habits can help you work more confidently and create better designs in Tinkercad. Start with basic tools, practise regularly, and make sure your projects are organised before exporting or submitting them.

  • Start with Basic Shapes: Practise using boxes, spheres, cylinders, and cones before creating more detailed models.
  • Complete the Tutorials: Follow interactive lessons to understand how the design tools work.
  • Use Accurate Measurements: Check object dimensions carefully, especially when creating models for practical use.
  • Organise Your Projects: Give each design a clear and meaningful name so you can find it easily.
  • Use the Group Tool: Combine related objects to make your designs easier to manage.
  • Allow Projects to Save: Wait for automatic saving to finish before leaving the editor.
  • Export Important Designs: Download important projects in suitable formats to keep additional copies.
  • Practise Regularly: Build small projects to improve your modelling skills over time.
  • Follow Classroom Instructions: Check your teacher’s requirements before submitting school assignments.

FAQs

Although Tinkercad is a useful free platform for beginners learning 3D modelling and basic design, it has some limitations that can make it less suitable for advanced projects or professional work. Its simple design tools are convenient for creating basic models, but users who need greater control over shapes, curves, and detailed geometry may find the platform restrictive.

Limited Modelling Flexibility

Tinkercad mainly uses basic geometric shapes, such as cubes, cylinders, and spheres, which users combine to create 3D models. Unlike advanced CAD software, it does not provide the same range of tools for sketching, extrusion, revolving, or lofting. It also lacks advanced organic sculpting and freeform modelling features, making it difficult to create complex curves, detailed shapes, and realistic organic designs. In addition, curved objects may appear less smooth because their geometry has a limited level of detail, which can affect the finish of some 3D-printed models.

Tinkercad does not have a clearly stated strict limit on the number of projects an account can store, but it does have certain technical restrictions that users should understand. These limits mainly relate to file imports, workspace dimensions, design complexity, and circuit simulation. Large or complicated projects may also affect browser performance.

Main Tinkercad Limits

1. File Import Limit: Imported STL, OBJ, and SVG files are subject to a maximum file size of 25 MB, according to the supplied information.

2. Workspace Size Limit: The maximum 3D design workspace is reported as 2,000 × 2,000 × 2,000 units. Users can work with different measurement units, including millimetres, centimetres, metres, and feet.

3. Design Complexity and Performance: Large models and high-polygon meshes can slow down the browser or cause the editor to become unresponsive. Detailed 3D scans and complicated designs may need to be simplified before importing.

4. Circuit Simulation Limitations: Tinkercad Circuits provides a simplified environment for testing electronic components. It may not accurately reproduce advanced hardware behaviour or timing-sensitive electronic operations.

How to Avoid Tinkercad Limitations

  • Keep imported 3D files within the supported file-size limit.
  • Simplify complex models before importing them.
  • Avoid adding unnecessary shapes and objects to large projects.
  • Check your design dimensions before exporting.
  • Use a reliable internet connection and an updated browser.
  • Test electronic circuits carefully and remember that simulations may not represent every real-world condition.

Important: The figures above are based on the information supplied and should be checked against Tinkercad’s current official documentation before being presented as confirmed platform limits.

Tinkercad may occasionally experience loading errors, login difficulties, or performance issues, but these problems are not always caused by the platform itself. If the website is working normally for other users, the issue may be related to your browser, internet connection, device, or network settings. Users experiencing difficulties can try updating their browser, checking hardware acceleration, or testing Tinkercad in a private browsing window. Complex 3D designs may also cause the editor to slow down or stop responding, particularly on devices with limited processing power. In some cases, school or workplace network restrictions can prevent the platform from connecting to the services it needs. To identify the cause, check the official Tinkercad status page for service updates or visit its Help Centre for troubleshooting guidance.

Tinkercad supports different programming methods depending on the workspace you use. Its Codeblocks feature uses visual, drag-and-drop programming to create 3D designs, while Tinkercad Circuits supports both visual block-based coding and traditional Arduino programming using C/C++ syntax. This allows beginners to learn programming concepts visually and more experienced users to write code for microcontrollers.

Tinkercad Codeblocks uses a block-based programming interface similar to Scratch. Instead of typing commands, users connect visual blocks to create instructions for generating and modifying 3D shapes. It supports programming concepts such as loops, variables, conditional statements, mathematical operations, and custom parameters. This approach helps beginners understand basic programming logic while creating 3D models.

Tinkercad Circuits allows users to program supported microcontrollers, including Arduino boards, using different coding options. Users can choose visual programming blocks, a combined Blocks + Text view, or traditional text-based code using Arduino C/C++ syntax. The combined view also helps learners understand how visual programming blocks translate into written code.

Overall, Tinkercad makes programming accessible to beginners through visual coding while also providing text-based Arduino programming for users who want to develop their coding skills.

Tinkercad may sometimes experience loading errors, login problems, or slow performance, but these issues are not necessarily caused by the platform’s servers. If Tinkercad is working normally for other users, the problem may be related to your browser, device, or internet connection. Common causes include outdated browsers, interfering extensions, complex 3D designs, limited device performance, and network restrictions. Users can try updating Google Chrome, enabling WebGL or hardware acceleration, and opening Tinkercad in an Incognito or Private window to identify browser-related problems. Large projects with complicated shapes or nested groupings may also cause the editor to freeze or load slowly, especially on low-powered computers and Chromebooks. If you are using a school, university, or workplace network, firewall settings may also prevent some Tinkercad services from connecting. To check for wider service interruptions, visit the official Autodesk Tinkercad Status Page or Help Centre for the latest updates and troubleshooting information.

Tinkercad supports block-based visual programming for 3D modelling and robotics, while its Circuits workspace allows users to write Arduino code using C/C++ syntax. In Codeblocks, beginners can create instructions by connecting drag-and-drop programming blocks instead of typing commands. These blocks support programming concepts such as loops, variables, conditional statements, custom parameters, and mathematical operations to generate and modify 3D shapes. In Tinkercad Circuits, users can choose visual block coding, a combined Blocks + Text view, or traditional text-based Arduino programming. The combined view helps learners understand how visual instructions translate into written code. This makes Tinkercad useful for beginners learning programming logic as well as students exploring Arduino and microcontroller projects.

Tinkercad may run slowly because it relies on your web browser, computer hardware, and internet connection to load and process 3D designs. Complex projects containing nested groups, multiple holes, and detailed shapes can require more processing power, which may cause the editor to lag or become unresponsive. Disabled hardware acceleration can also affect 3D rendering, while too many open browser tabs, background applications, and extensions may reduce available system resources. Large imported STL files and high-resolution custom shapes can place additional demands on browser memory. To improve performance, enable graphics acceleration in your browser settings, close unnecessary tabs and applications, and try opening Tinkercad in an Incognito or Private window to check whether an extension is causing the problem. You can also simplify complicated designs by reducing unnecessary objects and grouping complexity. If a particular project continues to lag, try duplicating it from your dashboard or copying its contents into a new blank design.

Tinkercad may occasionally experience loading errors, login difficulties, or slow performance, but these issues are not necessarily caused by Autodesk’s servers. If the platform is working normally for other users, the problem may be related to your browser, internet connection, or device. Common causes include outdated browsers, browser extensions, disabled WebGL or hardware acceleration, and complex 3D designs that require more processing power. Users experiencing problems can try updating Google Chrome, enabling hardware acceleration, or opening Tinkercad in an Incognito or Private window to check whether an extension is interfering with the website. Large projects may also freeze or load slowly on low-powered computers and Chromebooks. Additionally, school, university, or workplace firewalls may block connections required by Tinkercad. To check whether the issue is affecting other users, visit the official Autodesk Tinkercad Status Page or Help Centre for service updates and troubleshooting instructions.

Tinkercad may run slowly because it relies on your web browser, computer hardware, and internet connection to process and display 3D designs. Projects containing deeply nested groups, multiple holes, and complex shapes can require significant processing power, causing the editor to lag or become unresponsive. Disabled hardware acceleration may also slow down 3D rendering, while too many open browser tabs, resource-heavy extensions, or a full browser cache can affect performance. Importing large STL files or using high-resolution custom shapes may place additional demands on your browser’s available memory.

To improve Tinkercad’s performance, enable the Use graphics acceleration when available option in your browser settings and restart the browser. You can also simplify complicated designs by reducing unnecessary objects and using the Create Shape feature to combine complex or repeated geometry into simpler shapes. If the editor continues to lag, open Tinkercad in an Incognito or Private window, disable unnecessary extensions, or clear your browser cache. For projects that remain unresponsive, try duplicating the design from your dashboard or copying its contents into a new blank project. Finally, close unnecessary browser tabs and background applications to free up memory and processing resources.

Tinkercad supports different programming methods depending on the workspace. Its Codeblocks feature uses drag-and-drop visual programming for creating 3D models, while Tinkercad Circuits supports block-based coding and traditional Arduino programming using C/C++ syntax. In Codeblocks, users can connect visual instructions to create and modify 3D shapes without writing traditional code. It includes programming concepts such as loops, variables, conditional statements, custom parameters, and mathematical operations. In the Circuits workspace, users can choose between visual blocks, a combined Blocks + Text view, or text-based Arduino code for programming supported microcontrollers. The combined view helps beginners understand how visual instructions translate into written code. Tinkercad also uses web technologies such as JavaScript and WebGL to operate its browser-based design environment, although these are not the programming languages users normally write when creating Codeblocks or Circuits projects.

Conclusion

Tinkercad is a practical online platform for learning 3D modelling, creating digital objects, and exploring basic electronics and visual programming. Its free access, beginner-friendly tools, interactive tutorials, and classroom features make it a useful option for students, teachers, hobbyists, and other beginners.

By following this guide, you can create a Tinkercad account, sign in, explore its design workspaces, and start building your first 3D model. You can also use classroom tools, practise through interactive tutorials, and export completed projects for compatible applications or 3D printing. With regular practice and a good understanding of its features, you can gradually develop your digital design skills.t 3D project, join a classroom, and export completed designs for further use. Start with simple projects and gradually explore more advanced design features to improve your skills.


GulfInfoCenter Editorial Team

The GulfInfoCenter Editorial Team publishes accurate, up-to-date guides on government, education, finance, immigration, employment, and public services across the United Arab Emirates, Kuwait, and Qatar. Our content is carefully researched and references official sources whenever possible, helping residents, citizens, students, and visitors access essential services with confidence.

Articles: 59

Leave a Reply

Your email address will not be published. Required fields are marked *